- Open New Data Source dialog.
- Select Print Service connector.
- Provide the URL to the Portal Print Service.
- Close New Data Source dialog.
 .
.- Common Option tab:
- Print service – Select Portal Print Service (external print service link).
- Format – Offered by the selected template graphic file type in which the map you are printing will be saved.
- Template – Template offered by the service.
- Page size – Page size offered by the selected template.
- Orientation – Print orientation offered by the selected template. (Orientation in Portal Print Service is related to the template and cannot be changed.)
- Scale – Scale offered by the selected template. A predefined scale list is available.
- Template Options tab:
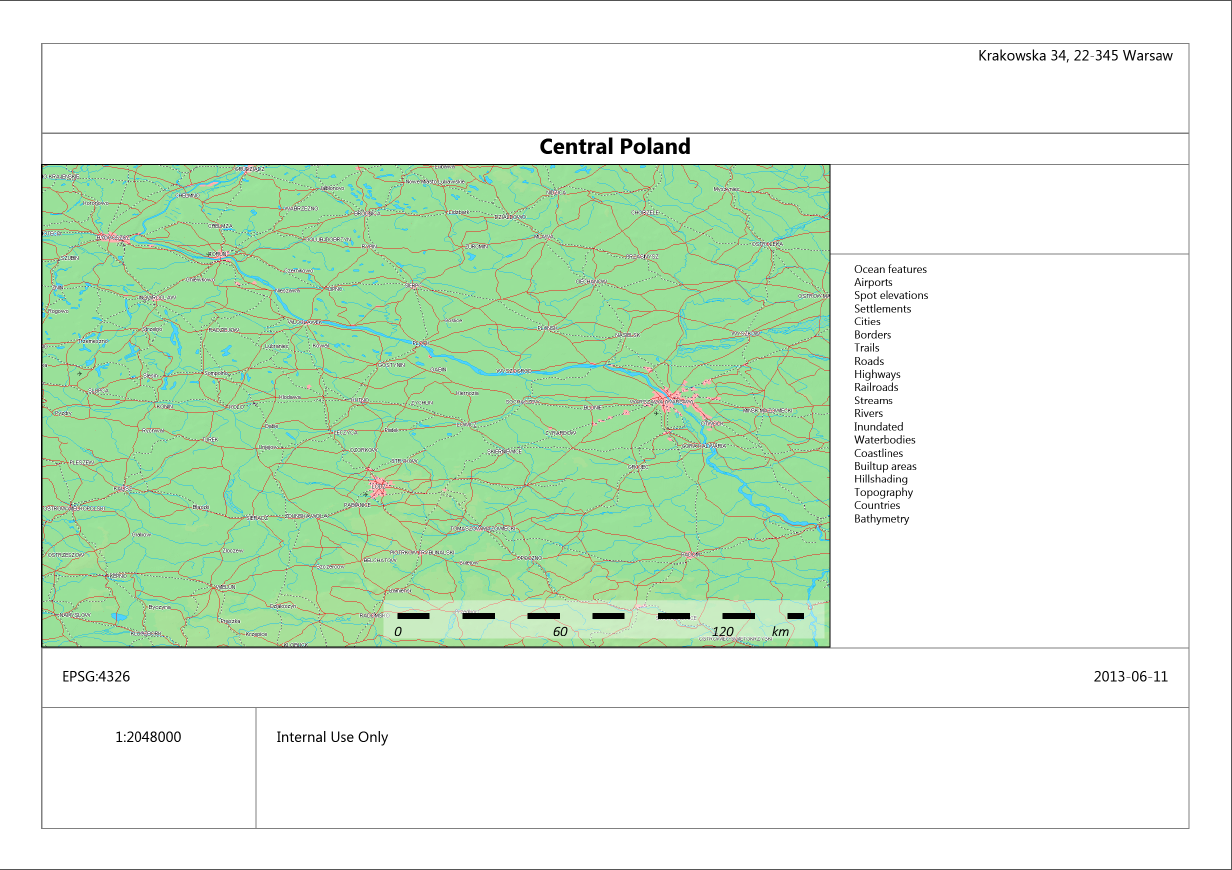
Data provided for the attributes listed below will appear on the print.
Options offered by the selected template:
- Address
- Title
- Overview
- Display legend
- Coordinate system
- Date
- Details
- Legend tab
The Legend tab is used to select the layers that appear in the printed legend provided that selected elements appear on the map. In case some elements are selected on the Legend tab but corresponding layers are not displayed on the map (turned off in the Map Content), these elements will not appear on the print in the Legend section.