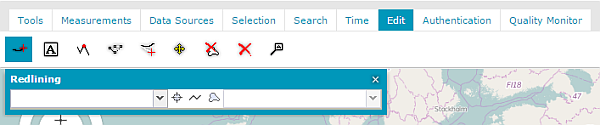

The appropriate geometry type is selected, and the available drawing method displays. For different types of feature class geometries, the appropriate option is selected:
Icon |
Description |
|
Point geometry |
|
Linear geometry |
|
Surface geometry |
For point, linear, and surface geometry, the geometry icon is selected automatically and cannot be changed. It indicates only the type of geometry for the selected feature class. For feature classes with a compound geometry type, you can decide which type will be edited by selecting the appropriate icon.
For point feature type:
- Point by point
For linear feature type:
Point by point
Two point line
Point, length, angel
Arc by start, end, point on edge
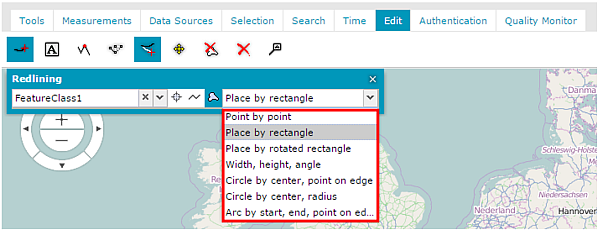
For area feature type:
Point by point
Place by rectangle
Width, height, angle
Place by rotated angle
Circle by center, point on edge
Circle by center, radius
Arc by start, end, point on edge
For compound feature type: All methods applies, depending on geometry type
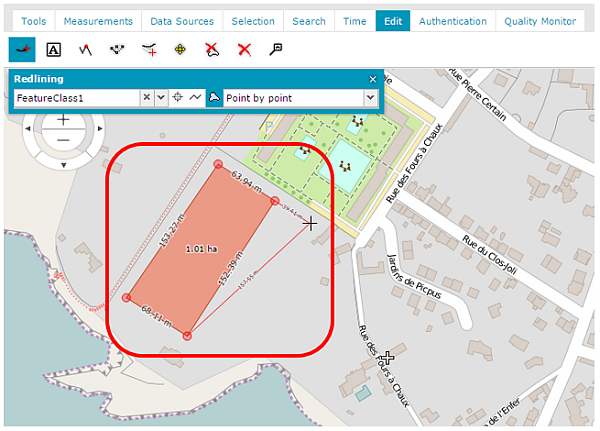
Descriptions of the drawing methods usage:
- Point by point – Click on the map to insert a starting point. Then click Next to add a vertex for edited geometry, and so forth. Double click to finish. For a point geometry type, click once on the map to add a point.
- Two-point line – Click on the map to insert a starting point. Then double click on the end point.
- Point, length, angle – This method allows for drawing a line from the starting point using length and angle attributes. To draw a line on the map, provide the length and angle for a line in the Attributes form (which appears after selecting this method). After you provide these attributes, a line appears on the map; then move the line to a desired location and double click to insert a feature. Negative values for both attributes can be applied. The units for length and angle attributes are related to the applied coordinate system.
- Arc by start, end, point on edge - Places arc geometry by clicking in the following order: the arc start point, the arc end point, and a point along the arc. To draw an arc using this method, first click on the map to insert the starting and ending points, and then insert points along the arc. You can continue drawing the next arc geometry. Drawn geometry can consist of any number of arcs. Double click to finish.
- Place by rectangle – Click on the map to insert a starting point; then draw a rectangle. Double click to finish.
- Place by rotated rectangle – To draw a rotated rectangle using this method, first click on the map to insert the starting point (one of the rectangle corners). Then, using the mouse cursor, define the length and angle for the rectangle base (first side of the drawing rectangle). Click to draw the base (first side), and then define the height of the drawing rectangle by moving the mouse. Double click to finish.
- Width, height, angle – This method allows you to insert a rectangle on the map that is described by attributes such as width, height, angle, and starting point. To draw a rectangle using this method, provide the width, height, and angle in the Attributes dialog box. After you provide these attributes, a rectangle appears on the map. Then move the mouse cursor to define the place where the drawn rectangle should be inserted. Double click to finish.
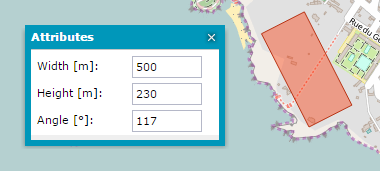
Negative values for all attributes can be applied. The units for length and angle attributes are related to the applied coordinate system.
Right click to quit the geometry insertion mode. The Attributes dialog box will still be displayed on the map. To close the Attributes dialog box, click the X button.
- Circle by center, point on edge - Lets you insert a circle and requires the definition of a center point and a radius. To draw a circle using this method, click on the map to insert a center point, and then move the mouse cursor to dynamically define a radius. Double click to finish.
- Circle by center, radius – This method allows you to insert a circle on the map that is described by a radius attribute. To draw a circle using this method, provide the radius in the Radius dialog box. A circle appears on the map. Then move the mouse cursor to define the place where the drawn circle should be inserted. Double click to finish.
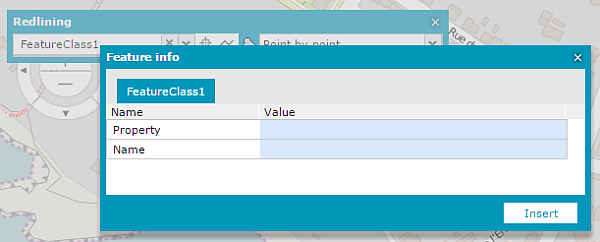
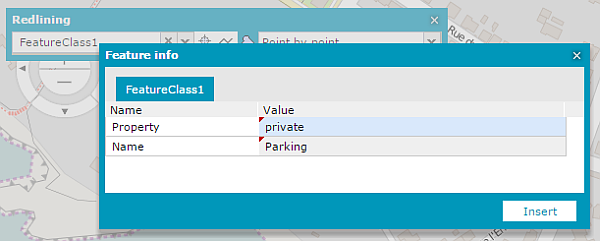
The Feature info window displays.
![]() Adding features to particular ERDAS APOLLO services such as WFS-T (Transactional) is possible on condition the dedicated service quirk is enabled. For more information about quirks please refer to the Geospatial Portal Administrator Guide.
Adding features to particular ERDAS APOLLO services such as WFS-T (Transactional) is possible on condition the dedicated service quirk is enabled. For more information about quirks please refer to the Geospatial Portal Administrator Guide.