Selected markers are added to the map, as shown below:
To add a marker:
Selected markers are added to the map, as shown below:
To remove a pin or marker from the map:
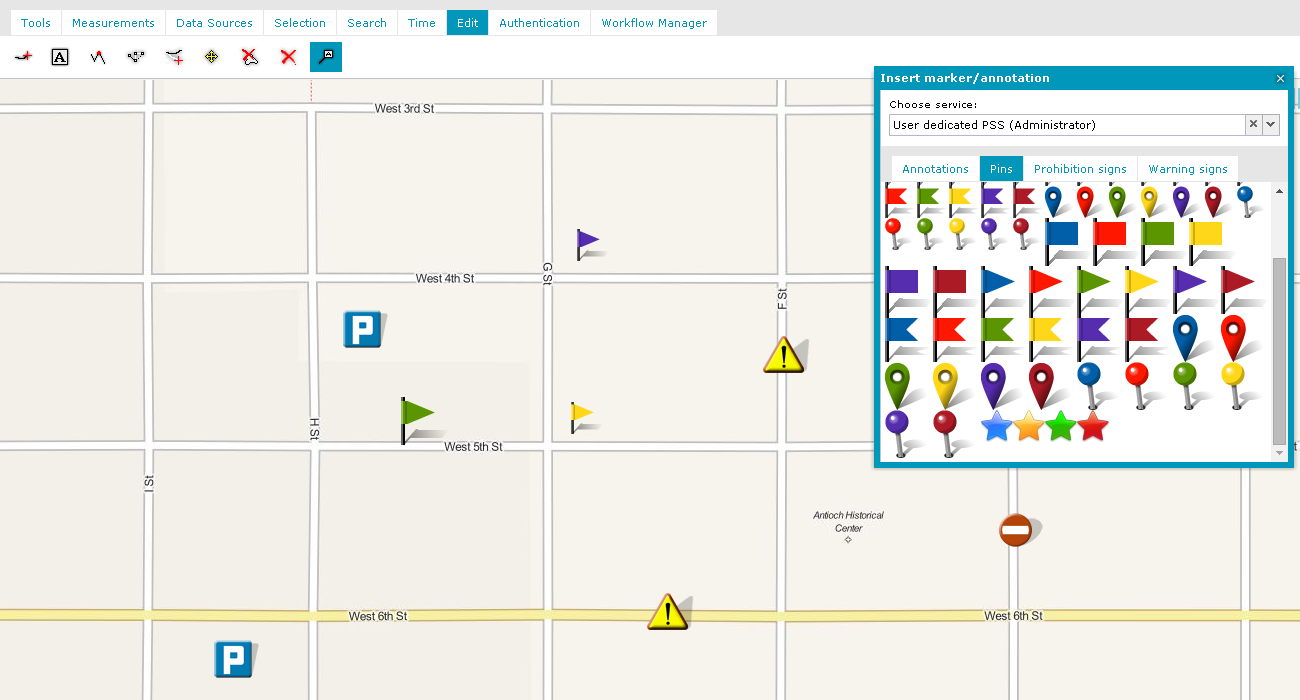
![]() Geospatial Portal is delivered with a default set of marker images. New markers can be easily added by placing them in the img\markers directory for a given Geospatial Portal instance. Each new directory will appear as a new tab in the Insert marker window.
Geospatial Portal is delivered with a default set of marker images. New markers can be easily added by placing them in the img\markers directory for a given Geospatial Portal instance. Each new directory will appear as a new tab in the Insert marker window.
In the same manner, the default markers can be modified, renamed, or removed. Administrative privileges may be required to perform this task, and access to the img\markers directory on the Geospatial Portal server must be granted.
For more information about modifying available marker sets, contact your Geospatial Portal administrator.