Click Remove part of geometry. Move the cursor to the geometry you added. The cursor style changes to a cross hair, and that part of the geometry will be highlighted.
Double click. The added part of the geometry is removed.
Inserting Text
Insert text allows you to insert text on the map. Text on the map can be placed at any angle. The text feature class must be defined before you can insert text on the map.
To insert text on the map:
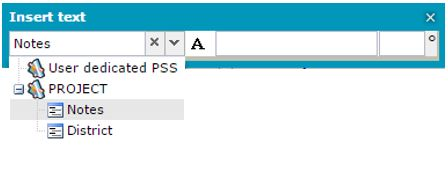
Select the Insert text tool from the Edit tab. The Insert text dialog box appears.
From the drop-down list, select the text feature class for which your text is to be inserted. Only text feature classes are visible in the drop-down list for the Insert text tool.
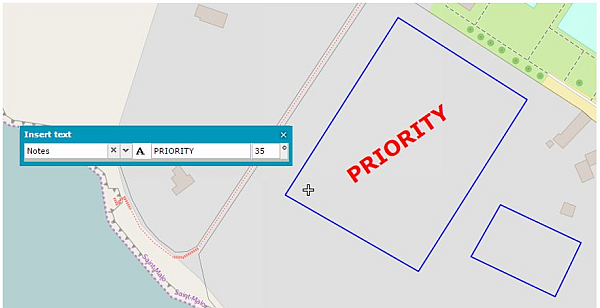
Type the text to be put on the map in the text field.
Provide the text angle in the field next to the text field. The value for the angle is in degrees, and the angle is defined with a clockwise direction. In order to rotate in a counterclockwise direction, use negative values.
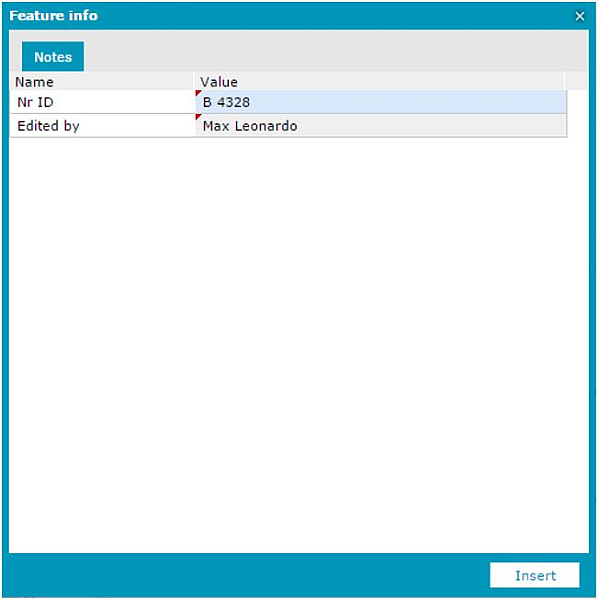
Click on the map to place text on the map. Optionally, provide values for text feature attributes if defined.
Click Insert to add text on the map.
Click on the Insert text dialog to close the dialog box. Right click to quit from the text inserting mode.
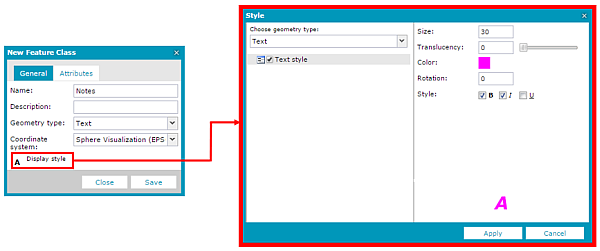
The font size and color for the text can be defined in Map Content for a displayed layer using the Style properties dialog box. The default text style (for personal service) can be defined when a feature class is created.